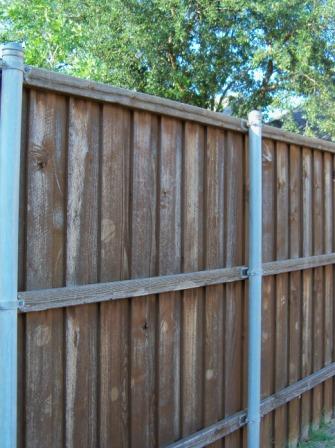
 Don’t stand by and watch your privacy crumble with your fence. Take up your tools and arm yourself with knowledge—in the form of these step-by-step instructions.
Materials and Tools:
circular saw
clamping pliers
drill
nails
hammer
string
chalk line
safety glasses
cedar privacy-fence pickets
galvanized screws
Steps:
1. Tack two nails into the tops of pickets on opposite sides of the area you’re replacing. Stretch a string taut between the nails to serve as a guide as you replace pickets.
2. Wearing safety glasses, pry out old pickets and remove any leftover nails. If you’re replacing several pickets, just remove and replace a few at a time to make keeping them in alignment easier.
3. Fit a new picket in place and attach to the upper horizontal support board with galvanized screws. Pre-drill pilot holes to make installing easier. Continue attaching pickets this way until you finish the section. If you get to the end of the section and the replacement picket is too wide for the last space, trim a little from both sides by making long rip cuts with a circular saw.
4. Snap a chalk line along the boards to mark the center of the lower support board, and then attach the bottom screws.
This article is from http://www.hgtv.com/home-improvement/picket-fence-repair/index.html
